After I made my
first bag I really liked it, but there were a few places where I realized it could improve, so off to the drawing board.

First I did this in my sewing room for about a week - made a big mess and stitched and ripped out stitches... I tried out different things in the pockets to make sure they were the right sizes.
I
thought I was all done, but... Do you see the polka dots that are not there? Of course you don't! Somehow cutting my piping strips on the bias made long strips where there weren't any polka dots visible, and that BOTHERED me!
My amazing friend rescued me again, THANK YOU! She suggested I get some light cream colored paint and use the back of a small flat headed pin and put the polka dots on myself. Doesn't that look great?
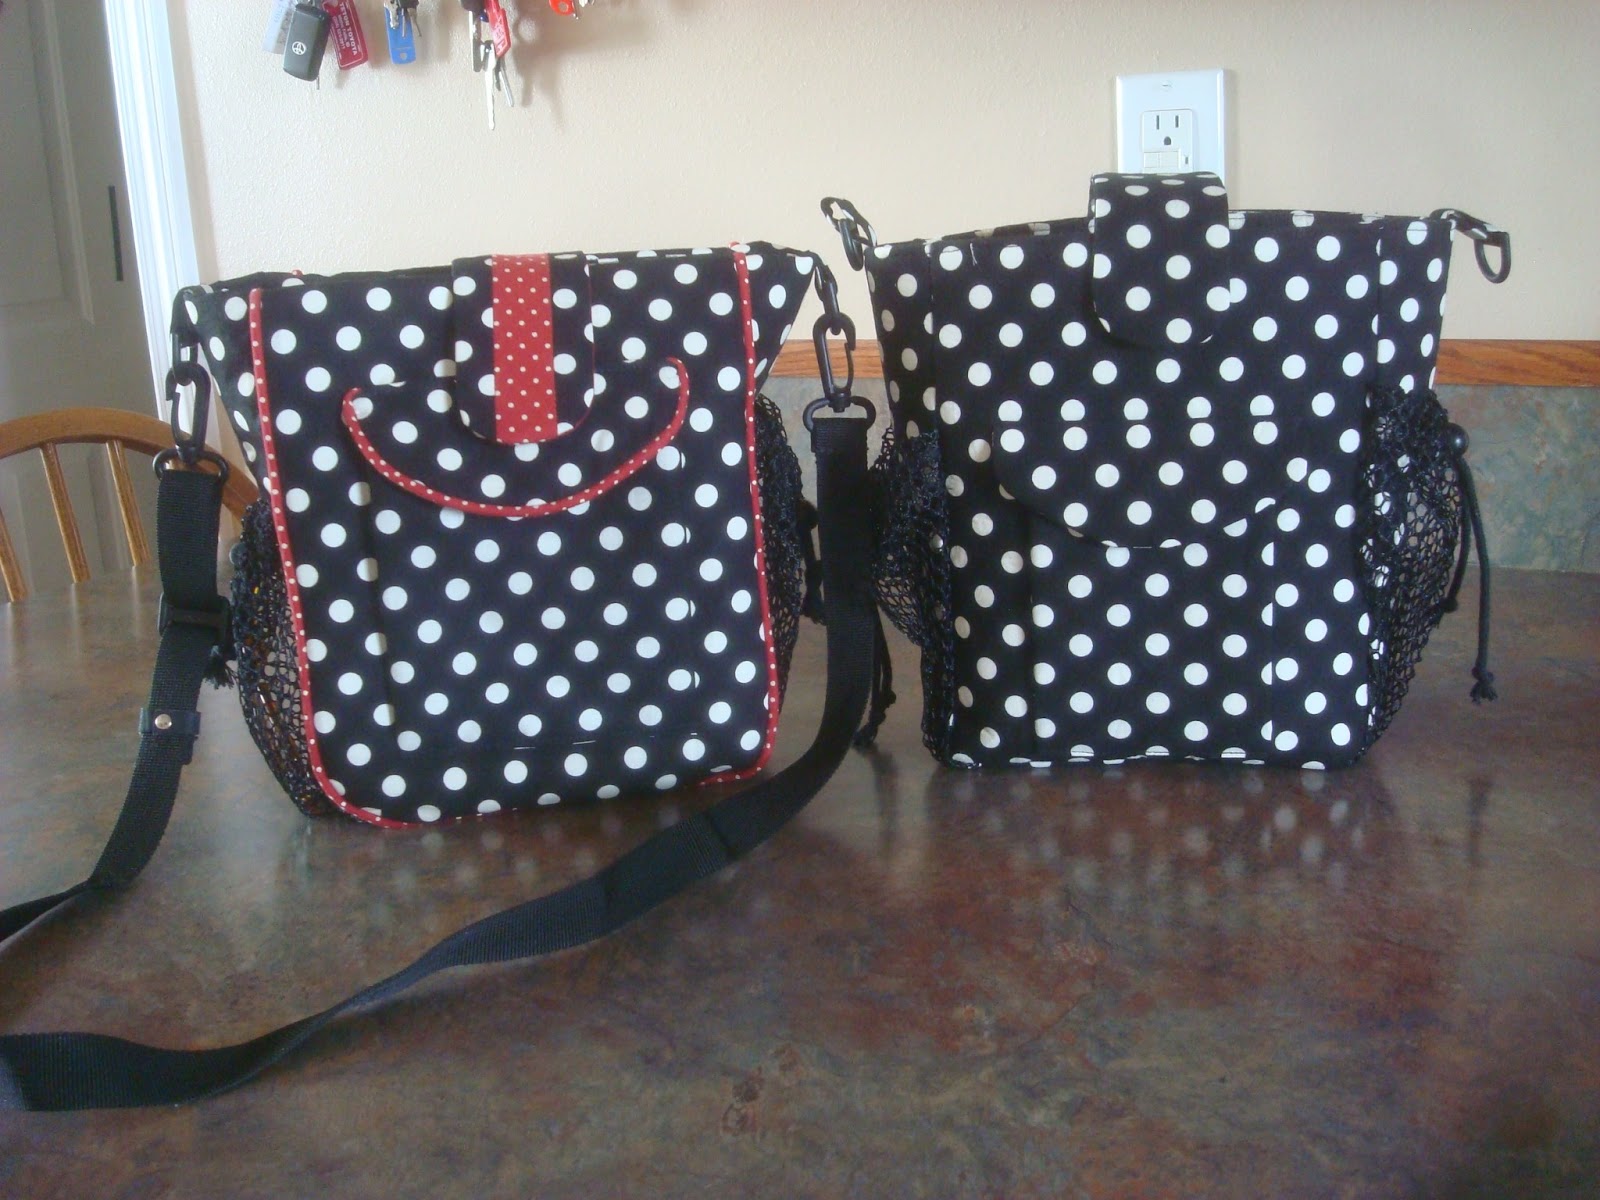
Here are the two bags side by side. All I can see are polka dots on the first one - actually kind of eye boggling even though I LOVE polka dots. I really like the way the new one turned out.
Here is the inside with pockets on all sides, one is mesh and one is divided, it can close with a velcro tab or I can zip it shut.
The back with cute little tags on the zipper pulls,
and I lined the pocket with my red polka dots.
I love the mesh pockets on the sides for a water bottle and my sunglasses, and I can't wait to take it on a trip!


Jeanna, it looks great! I liked your friend's idea of adding the polka dots! Veery clever!
ReplyDeleteI'm messing up the living room right now. Hubby's home sick today and he's upstairs, so I'm "escaping" downstairs! LOL!
Wow, love both. Great idea using paint.
ReplyDeleteI am in love with polka dots too. I especially love when they are not perfectly lined up. Are you sharing a tutorial for the bag? I am in great need for this type of bag.
ReplyDeleteThanks for the inspiration ;-)
Michelle
6600
Great idea... love em!
ReplyDelete