First I might have to convince you that machine binding can look great! Here are some close-ups of two of the corners, but they all look like this! Pink is the front and blue is the back.
If you already sew the back on by machine, but do the front by hand, you may want to skip this part, and just go to
Part 2. I am starting at the very beginning, but I have a magical trick that I made up myself (OK, someone else may have made it up too, but I didn't see it, so I made this independently, OK? :) There are a lot of steps, so I have a lot of pictures, but I hope that by the end you will say, "Hey, machine binding is easy and it looks soooo good!".

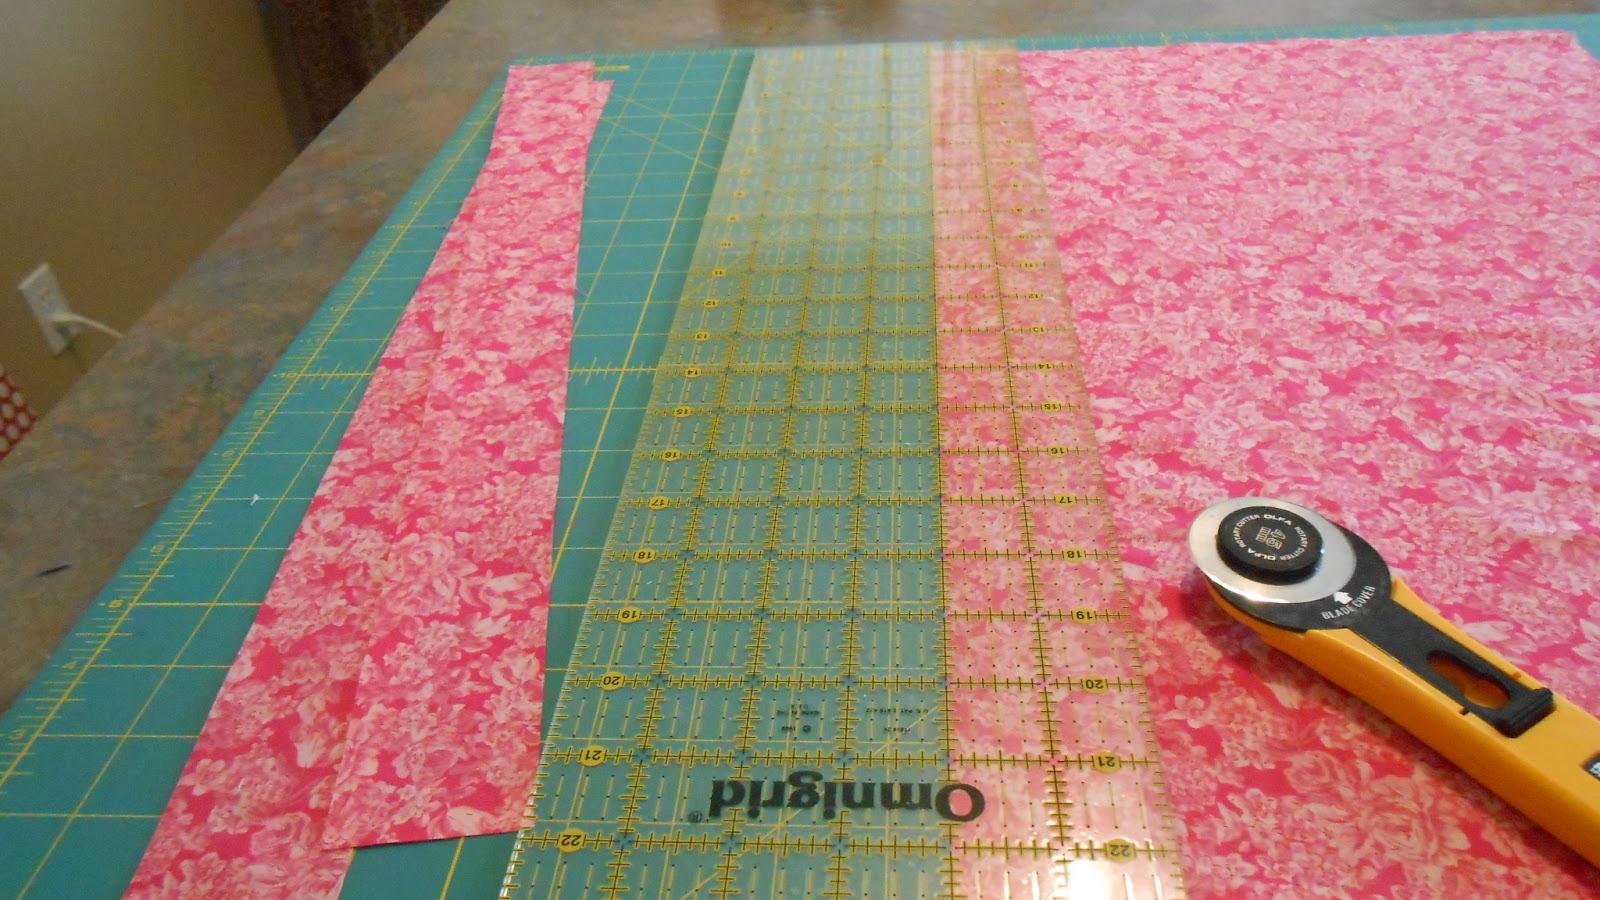
Start with cutting your binding strips. These are 2" wide, it is a small project and I don't want wide binding. For regular sized quilts I usually use 2 1/4 " strips. If you don't know how to figure how many strips to cut...there's an app for that! I just use good old math (circumference of quilt plus 15 inches divided by width of fabric you cut the strips from ).
Now to join the strips into one long strip lay two down, right sides together like this:
You are going to sew them together on the diagonal like this:
Ta da! Two joined strips. Now trim to a 1/4 inch.
See how when you open it up you have two ugly tags sticking out?
Trim them off. You may be asking, "Why do I need to join these strips like that, can't I just sew two strips together at the flat ends?" You can do that, but if you do you will have all that bulk in a big lump at every seam in your binding. It looks bumpy and that part will wear out more quickly than the rest of the binding. This way the bulk is spread out and the binding lays flat and smooth.
Now go and press all the seams open,
and then press your binding in half,
wrong sides together.
I don't want to have to keep changing the feet on my machine, and a walking foot makes it so much easier to get good results. So I'm going to use my ruler and just move my needle position over to where I am sewing a 1/4" seam with a place I'm going to watch on my foot. ( Do you know what I mean?)
Now I am going to leave about 10 inches of loose binding, and start about 5 inches up from one of the corners, and sew the binding to the
BACK of the quilt. Don't start on a corner!
When I get near a corner I'm going to stop 1/4" away from the end. Cut the thread and take your quilt out from under the needle.
Take the binding and fold it over like this. It is a 45 degree angle, but we don't have to get out a protractor or anything, just make sure the bottom of the binding lines up with the bottom or the quilt like this!
Now flip the rest of your binding back over so you have a square corner. Make sure it is nice and even with the sides of your quilt.
Now hold that down with your finger while you slide this back under your needle. Starting at the end, sew the binding to the next side of your quilt.
Yep, just keep going and repeat that each time you get to a corner. Stop when you get about 10 inches from where you started sewing on the binding. Hopefully you still have 12 inches or more of binding left. -- I have occasionally underestimated how much binding I needed, and have stopped in the middle and attached another piece before I sewed it all the way to the end...
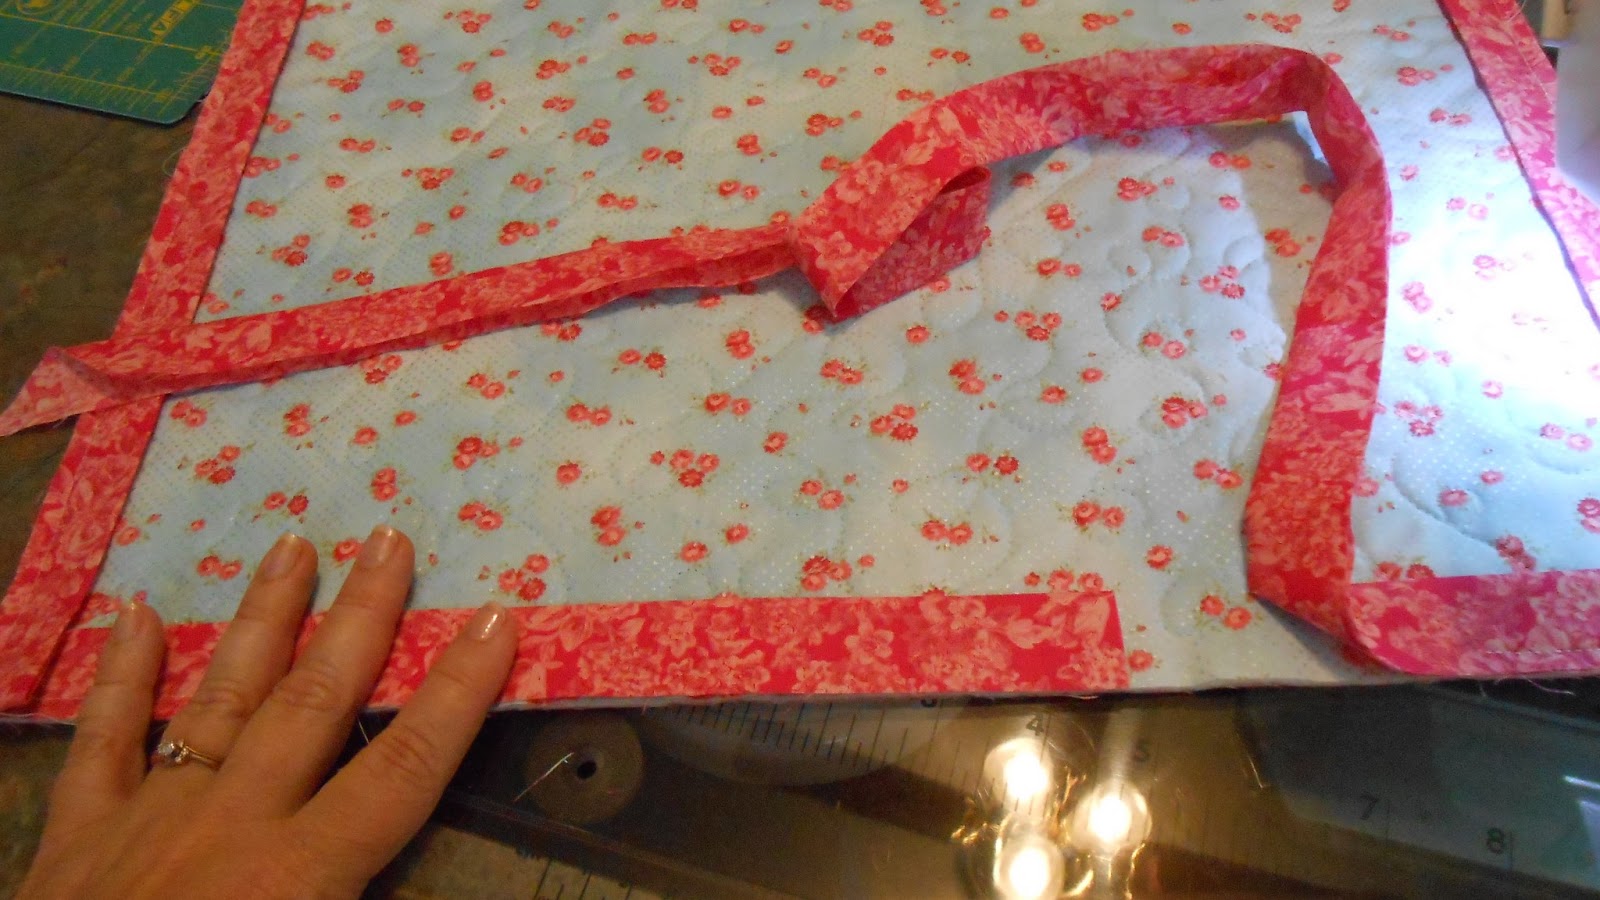
OK, now you have something that looks like this. Let me show you how I finish that off!
Take the loose binding from the beginning and lay it along the quilt.
Now flip the other piece of binding so it lays over the first piece. They are overlapping.
Give a little tug on the top layer. You don't want there to be any "slack" or your binding will end up too big!
Now grab the top edges in the middle, turn them so the folded edges are facing you and mark both sides of binding right on top of each other so you will have a point to match up later.
Now I want you to look at these two pieces - you are going to sew them together just like you joined all your binding pieces, but also matching the centers. Here's how:
First I fold up my quilt so these two binding pieces are closer together, it just gives you more space to work with them.
Don't twist your binding around, just flatten them out. Now lay the piece closest to you on top of the other piece, right sides together. Peek under and match those two pins so they are exactly on top of each other. Look closely and you can see the pin peeking through.
I carefully slide those pins out and use them to hold things in place so I don't lose track of my perfectly matched centers.
Now just sew on the diagonal like you did before!
Lookin' good! Before you trim anything, straighten out your quilt and double check that it isn't twisted or too loose.
Now go ahead and trim to a 1/4", and trim off those tags.
Finger press that seam open so it will lay nice and flat.
Now sew it the rest of the way down, overlapping your stitches at the beginning and end!
Ta Da!! The back is complete! You will be amazed at how quickly this goes after you have done it a couple of times! I would love to hear from you, if you have any questions or comments please don't hesitate to ask!
Part two is coming soon --- the front! It actually goes much faster than the back. That is where my magic discovery comes in.


 Start with cutting your binding strips. These are 2" wide, it is a small project and I don't want wide binding. For regular sized quilts I usually use 2 1/4 " strips. If you don't know how to figure how many strips to cut...there's an app for that! I just use good old math (circumference of quilt plus 15 inches divided by width of fabric you cut the strips from ).


This is a great tutorial! Can't wait for part 2, you may just convert me to this method. (I machine sew to the front and hand sew to the back)
ReplyDeleteI think I am going to try it this way - I'm looking forward to part 2!
ReplyDeleteAhh! I like the way you join the last parts of the binding together! Great tut!
ReplyDeleteThis comment has been removed by the author.
ReplyDeletethat last part ALWAYS gets me. I machine bind all my pieces. I don't have patience for the hand-sewing. LOL!
ReplyDeleteI recently started using a special foot on the final stitch-down to make sure things are even... I can't wait to see your solution.
I used your tutorial method and works like a charm. You did an excellent job of walking us through it. Thanks!
ReplyDeleteMy name is Susan and I was wondering if you have available the pattern for your sail boat quilt that you made a while back? My grandson saw it and fell in love with it and I would love to make it for him! I am willing to pay for the pattern. If you don't have the pattern - if you could give me block size etc. I might be able to figure something out that way......I just love the quilt and would sooooooo love to make it for my grandson!!!!! Thank you for you time! I love your blog!
ReplyDeleteThis is DeAnn. Thanks Jeanna fit your great tutorial. It will be so nice doing a scrappy binding with less bulk. I also love the way you do the corners! I will refer to this often. Have a great day!
ReplyDelete