
 but the chair pads are a very light color and have many stains.
 So we decided to make covers for the chairs, and they turned out nicely, if I do say so myself!
If you would like to make some, I will show you what we did. First, we decided to make a pattern that would be cut out on the fold, so it looks like half a pattern.
We used a grocery bag that we cut open so we would have a piece of paper large and sturdy enough for us to fold and pin.
 Measure your chair and place the paper on so it goes down the center of the pad. Pin your paper to the chair to make sure it stays put (ignore that missing chunk of paper cut out of the side, that is another step).
Now trace around the top of the pad. Measure down how far you want the sides to hang to cover the old pad and add one inch to that number.
Take the paper off and add that amount around the side and front of your pattern. Round the corner to a nice smooth curve. Add enough to the back side of the pattern so that it will hang down as much as you want (this might be different than the front because of the back of your chair), plus one inch for turning under the edges. Now trim the paper on the cutting lines and pin back on your chair.
 Smooth the pattern down along the front and sides and take all the excess at the corner and fold it in to a dart. Play around with it until you like how it looks. Pin the dart in place. This shaping will keep your cover from sliding around.
 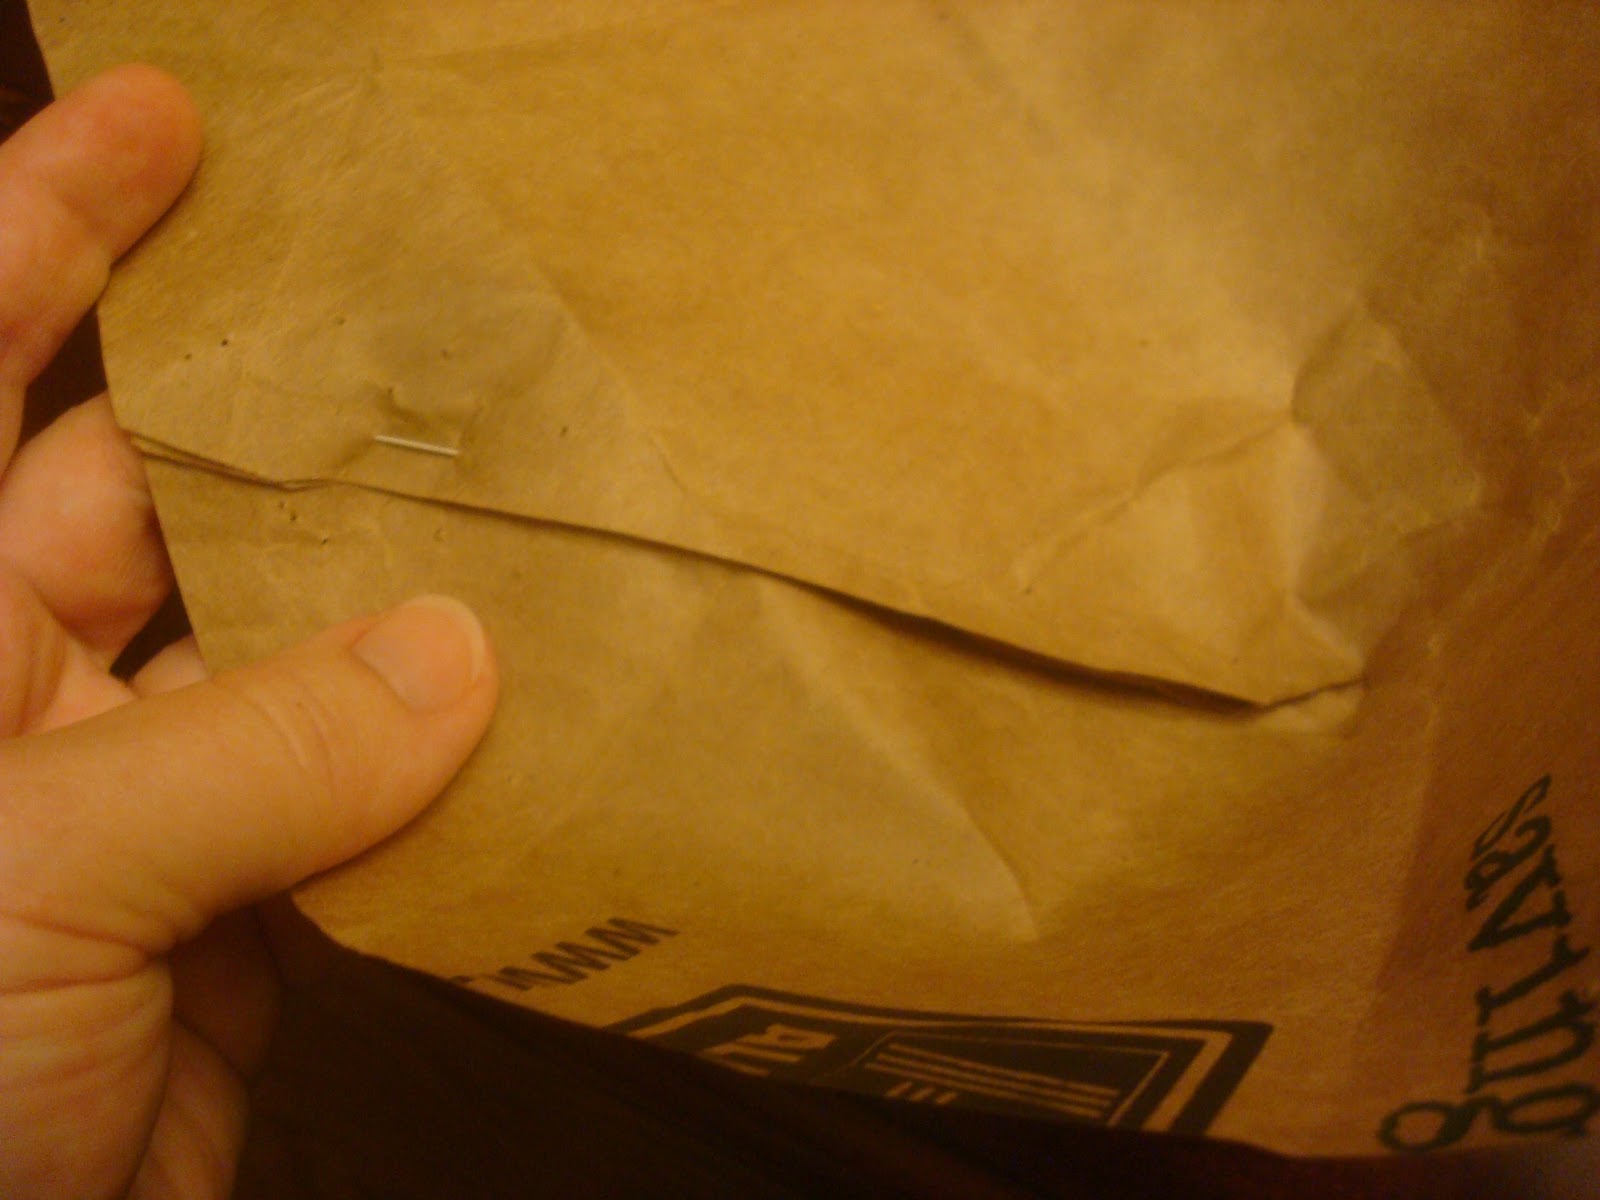 Leaving your dart pinned, take the paper off your chair. Trim the outer curved edge where the dart is so you have a nice smooth curve again. Now turn the corner with the dart (still pinned!) wrong side out - don't worry, this paper is tough! Trim the folded part that sticks out 1/4" from the inner fold.
 Now unpin the dart and lay your pattern out flat. It should look something like this.
Making the pattern is the hardest part, sewing up your cover is as simple as can be. When you cut out your fabric make sure to place the long flat edge on a fold.
First sew in the darts with a 1/4" seam. Press. Along the back turn under the raw edge about 1/4", then turn again another 1/4". Sew. Press. Now you will turn under the sides and front the same way and sew them. At the corners you will need to ease it along, avoiding having "pointy corners". Press.
 Try your cover on your chair, decide on where to put your ties (we used ribbon) and how long you want them to be when you tie them in a pretty bow, then attach the ties!
TA DA!
TIP: I made a sample out of cheap fabric to try on my chair, and adjusted my pattern. It turned out that I decided to have more hang down the sides and less hang down the back than I had thought at first. Making a sample and fixing your pattern will save you from wasting your good fabric!
We used 2" wide ribbon, cut into 15" pieces. You will need 4 pieces of ribbon per chair. I will check my comments often, so if I am unclear on something, please ask and I will do my best to clarify!
Wow, they really did turn out well! I like your idea of stapling the darts in. I wish I knew that when I was working on the cushions in our airstream.
ReplyDeleteLooks lovely. Thanks for the tutorial. Never know when one might need it. (I need it! Whether I get around to doing this is another story. lol)
ReplyDeleteVery interesting & great post.To add a touch of beauty and elegance to your room all you have to do is utilise chair covers. The designs and fabrics are beautiful beyond belief and when done correctly no one will even recognise that the chairs have covers. From formal to informal there are covers for every event on your calendar.
ReplyDeletewow, this is exactly how I want want to make for my chairs. It look beautiful and easy to make. I'll get start on this soon. I can't wait. Thank you
ReplyDelete